The Best Fluffy Pancakes recipe you will fall in love with. Full of tips and tricks to help you make the best pancakes.
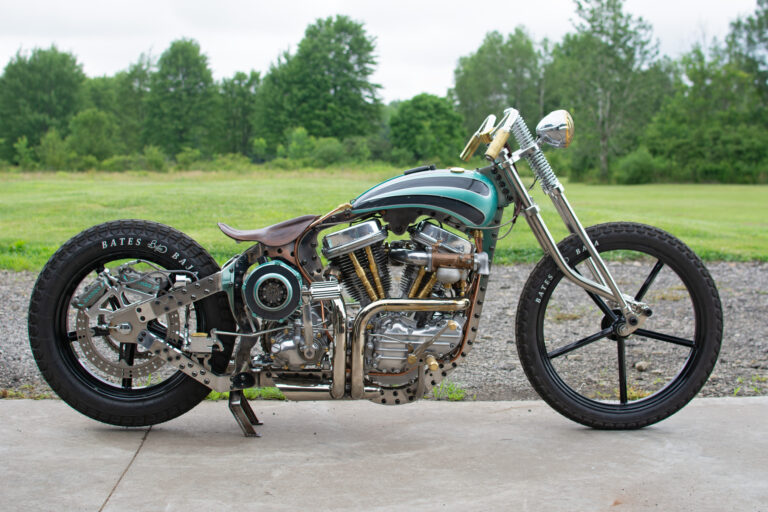
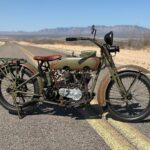
When we build an early Harley frame, we are not guessing, eyeballing, or using a close enough approach. The goal is simple. Recreate a 1920s JD model frame as accurately as possible while making it strong enough to be ridden hard for another hundred years.
This post picks up where the first part of the process leaves off and focuses on the tubing side of the frame. How we go from raw tube to a finished, dead straight chassis.
Starting With an Original Frame
Everything begins with an original early JD frame. We scan the entire thing, capturing all the point geometry using reference markers across the frame. Those scans are brought into CAD, converted into a solid model, and broken down into individual part files.
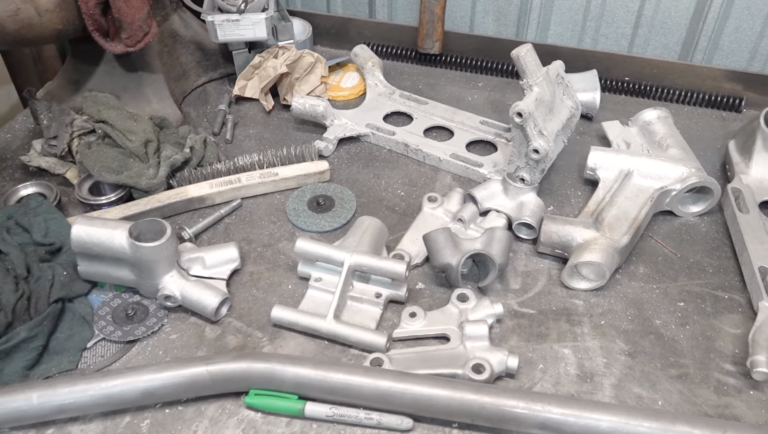
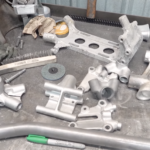
From there, we metal 3D print our castings using 316L powder, a stainless based blend with iron and nickel. The result is not just dimensionally accurate. It has the same surface texture as the original castings. That matters. These frames should not look new. They should look right.
The main printed components are the transmission casting, seat post casting, and neck casting. Once those are done, everything else is built around them.
Bending the Backbone and Main Cradle
The backbone and main cradle are bent from one continuous piece of inch and a quarter heavy wall tubing. One piece means strength, and strength matters when the goal is to build something that can be ridden across the country, not just parked in a corner.
This cradle matches the original JD frame exactly. Same geometry, same stance, same proportions. The backbone also sets the location for the fuel tanks, and early Harley tanks sit very specifically. When they drop into place without fighting anything, you know the frame geometry is right.
The Tricky Part. Rear Frame Legs
The rear legs are where things get interesting.
On original JD frames, those tubes have a long, drawn out radius that is hard to replicate without custom tooling. Making a dedicated dye for every frame variation is not practical, especially when we build multiple styles like board track racers, early Harleys, and soon Indians and other brands.
Instead, we use a technique called bump bending.
Bump Bending Explained Without the Math Class
Bump bending lets you create a long, smooth arc by making a series of very small bends, spaced closely together. When done correctly, the tube flows exactly like a single large radius bend without flat spots, kinks, or visible transitions.
For these rear legs, we use seven eighths inch heavy wall tubing, just like the original frames. The process looks like this.
The first bend starts eleven inches back on the tube. Five total bends. Each bend spaced just over an inch apart. Each bend set to just over six degrees, accounting for spring back
Every bend happens in the same plane. That part is critical. If you are off even slightly, the tube will start wandering in two directions, and the frame will not be straight.
It is a slow, deliberate process, but when you are done, you get a smooth, natural looking arc that is nearly indistinguishable from the original.
Laying It Against a 100 Year Old Frame
Once the rear leg is bent, it gets trimmed and laid directly against an original frame for comparison. This is where you really see the process pay off.
No special dies. No shortcuts. Just careful layout, consistent spacing, and repeatability.
After one side is finished, the other side is bent as a mirror image. The lower rails are much simpler, with only a slight arc, and they tie everything together between the castings and axle plates.
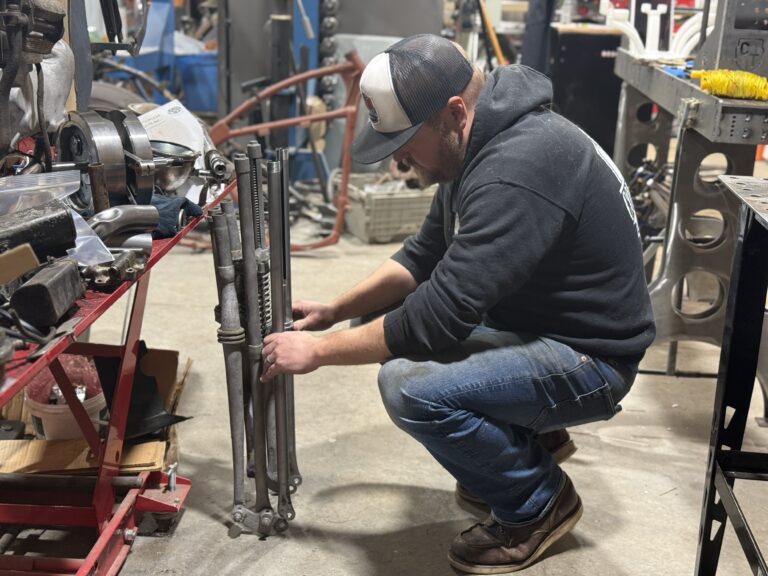
Mockup, Alignment, and Welding
With all the tubing mocked in place, we shoot a laser down the frame and measure from the front, center, and rear. Alignment matters more than people realize, especially on early bikes.
Many original frames are twisted or out of square from decades of riding. We correct that.
Our goal is to keep the frame straight within less than a sixteenth of an inch from front to back. We also check alignment between the transmission plate and engine so the sprockets run dead straight.
This particular frame in the video below is being TIG welded at the customer’s request. Once everything is fully mocked, it gets welded, cleaned up, and shipped out so the rest of the bike can start taking shape.
Why We Build Them This Way
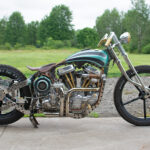
These frames are not replicas meant to sit under a rope. They are meant to be ridden, worked on, and lived with.
By combining modern tools like scanning, CAD, and 3D printing with traditional fabrication techniques, we can recreate early Harley frames that look right, fit right, and hold up to real use.
If you have questions about the process, reach out. We have more in depth builds coming, and there is always another hundred year old problem waiting to be solved.